Exodus has always been my “go to” add-on for movies and TV shows. However, it is no longer supported by the developer(s).
Placenta is a new add-on fork of the Covenant add-on – which was a fork of Exodus, which was a fork of Genesis. Whew! That’s a lotta forks folks. I’ve been using it for two weeks or so, and can highly recommend it. It offers all that Exodus did, plus some additional features you may find quite useful. In addition, the Placenta developers first made sure all the prior features worked before adding any additional embellishments.
Installing The Placenta Kodi Add-on – 17.x Krypton
Today, I’ll show you how to get and install the Placenta add-on. New to Kodi? Never installed an add-on? Not an issue! The following detailed instructions will walk you through the process step-by-step. Then I’ll show you how to use the add-on and take you on a tour.
Install the Blamo Repository
First things first though. The easiest way to get the Blamo repository (think…add-on store) is to add my web site as a source for installing third-part add-ons If you haven’t already done so. Click here to open a new tab for instructions about adding my web site as a source. Once that’s done, it’s time to install the Blamo repository and then the Placenta add-on. Let’s get started!
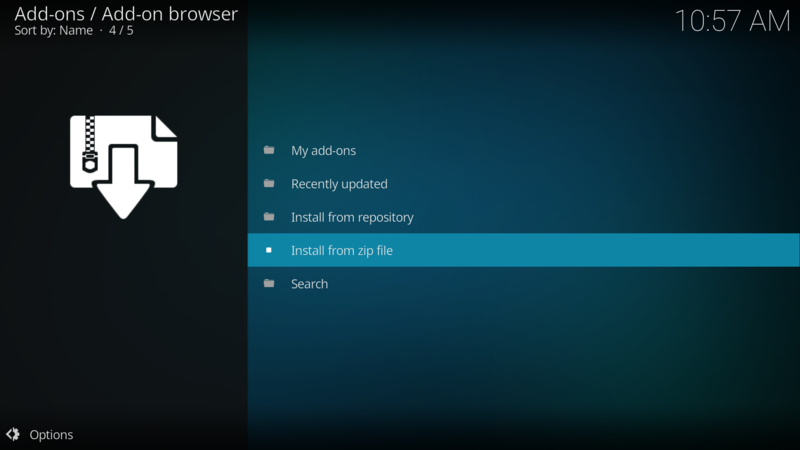
From your home screen scroll down to and select Add-ons and hit enter on the keyboard and double-click with a mouse. This will take you to the Add-on Browser.

Scroll up to and select the Box at the top right (enter on keyboard – double click mouse).

Scroll down to and select Install from zip file (enter on keyboard – double click mouse).
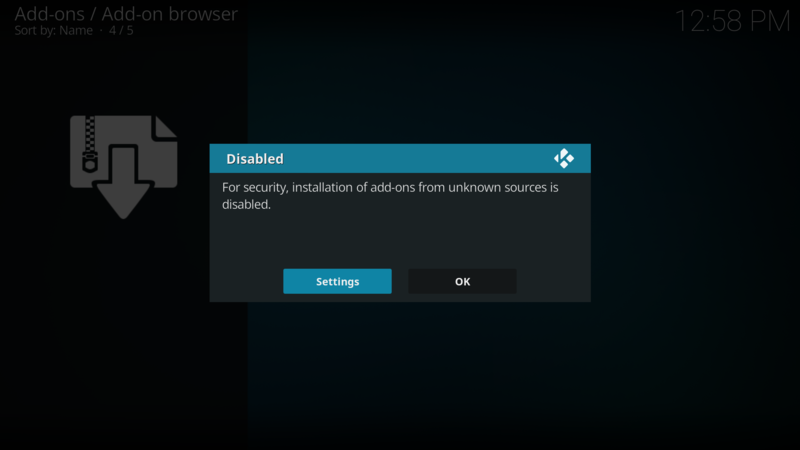
Enable Installing from Unknown Sources
If you get the following Disabled message than you’ll need to enable installing from unknown sources. Select Settings and (enter on keyboard – double click mouse).
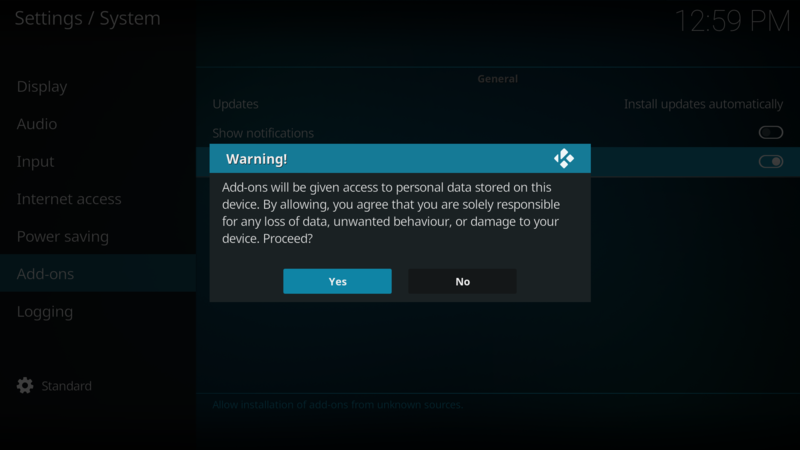
This will take you to the Settings/System screen. Select Unknown sources and slide the radio button to on (enter on keyboard – double click mouse).
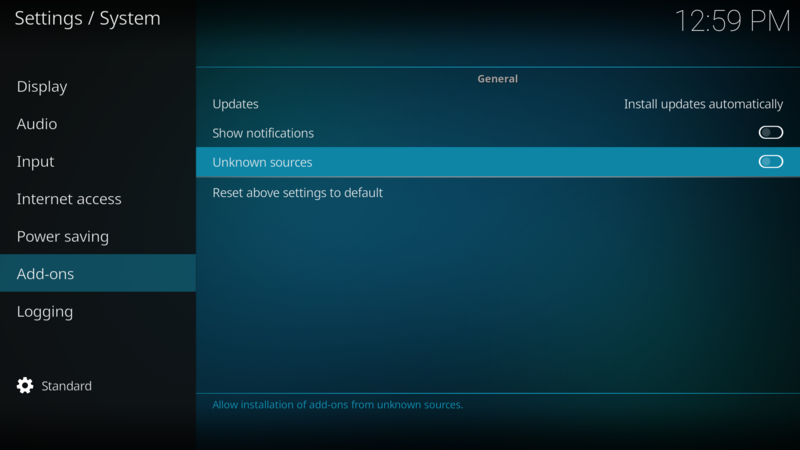
You will get a warning message. Select Yes and return to the Install from zip file portion of this tutorial.
Install the Blamo Repository from My Site
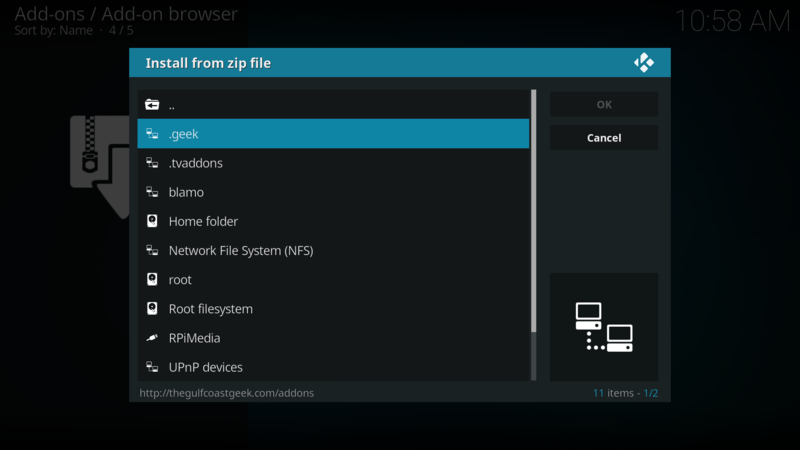
Now select .geek at the top of the “Install from zip file” dialog box (enter on keyboard – double click mouse). If you named the source something other than .geek, you’ll want to scroll and select that name.
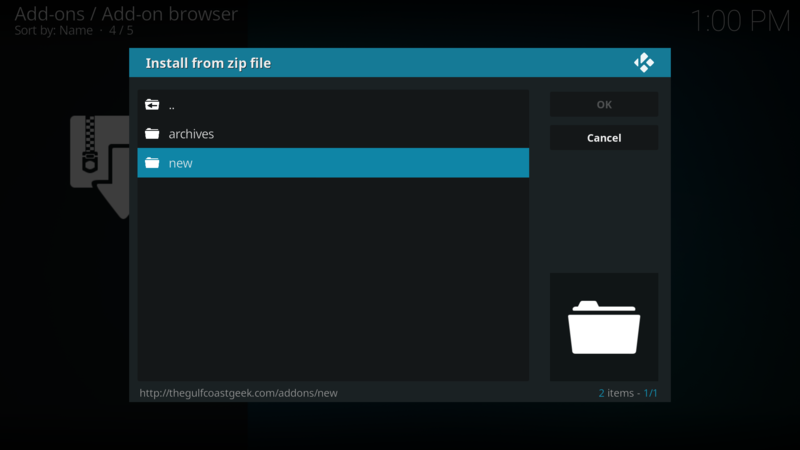
Select New (enter on keyboard – double click mouse).
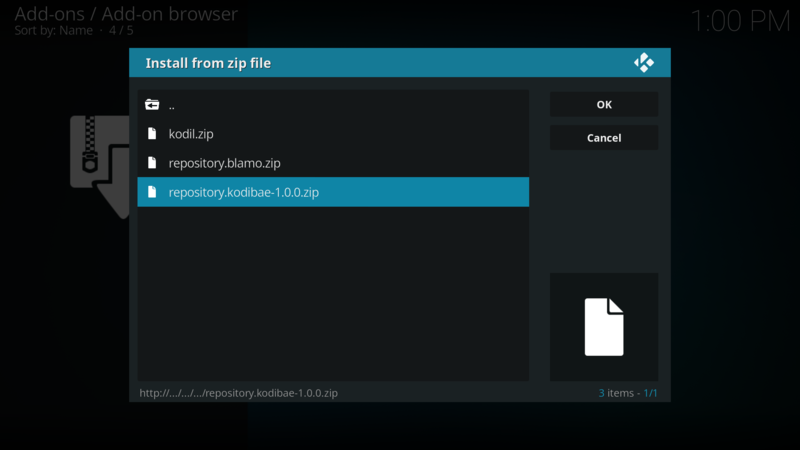
Now scroll to and select repository.blamo.zip repository (enter on keyboard – double click mouse). You may see some additional repositories here…if so, go ahead and repeat the procedure for each.
Now wait for the notification at the top right of the screen that the repository has been installed.
Install the Placenta Add-on
Once the repository is installed, you’ll be back at the Add-on browser. Select Install from repository (enter or double-click).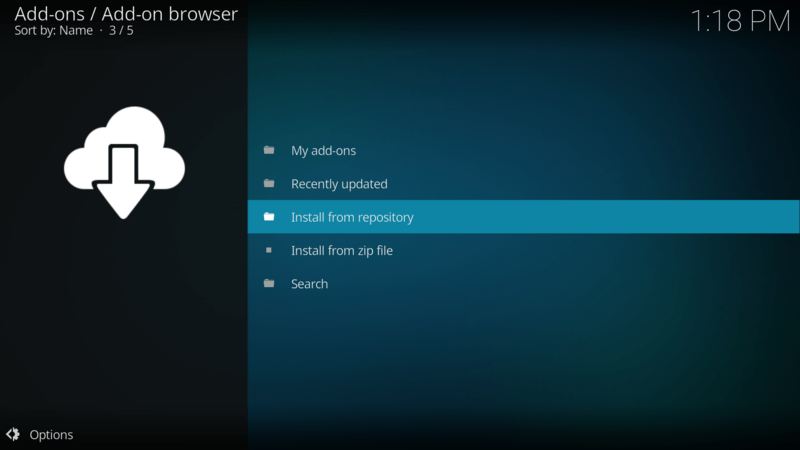
Scroll to and select the Blamo Repo (enter or double-click).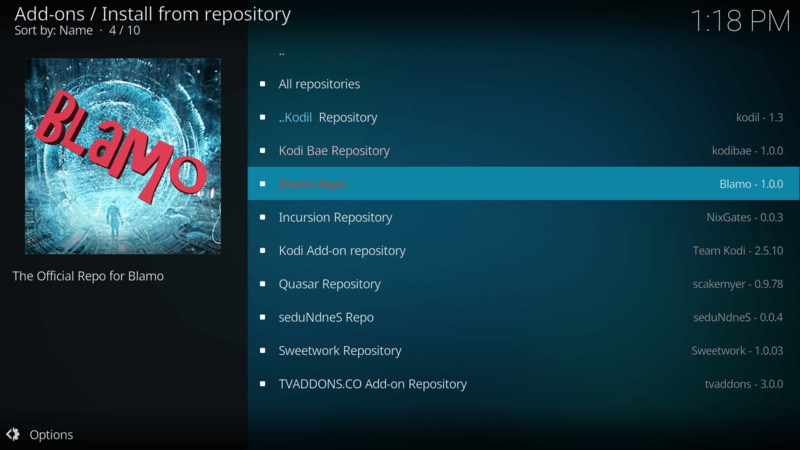
Scroll to and select Video add-ons (enter or double-click).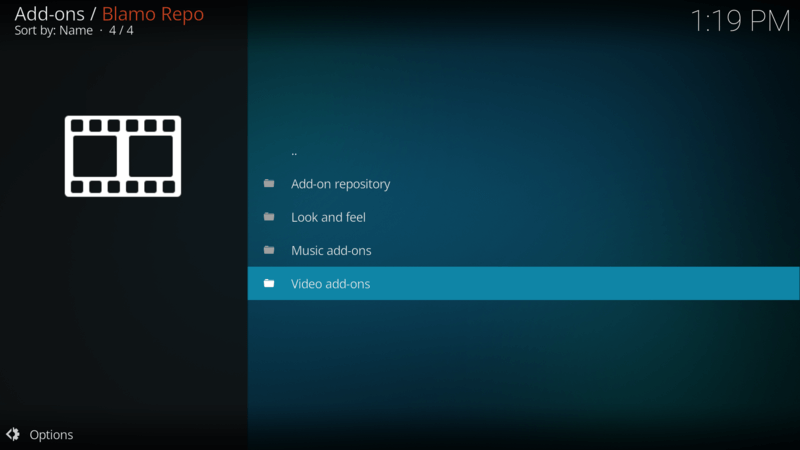
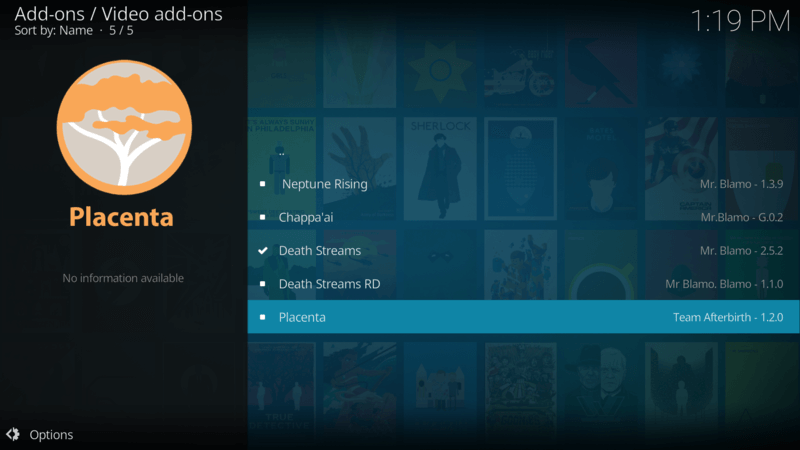
Now Scroll to and select Placenta (enter or double-click).
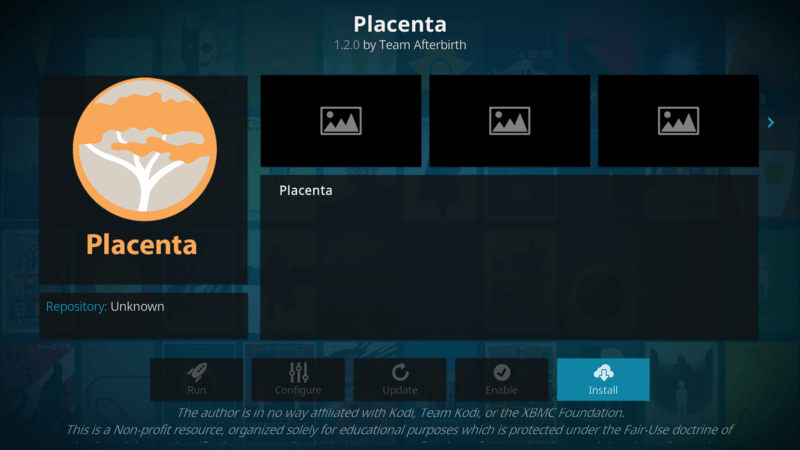
You’ll be directed to the information page for Placenta. Select Install (enter or double-click).
You may get a notification of more than one repo that hosts the add-on. If so, then choose the most recent version (enter or double-click).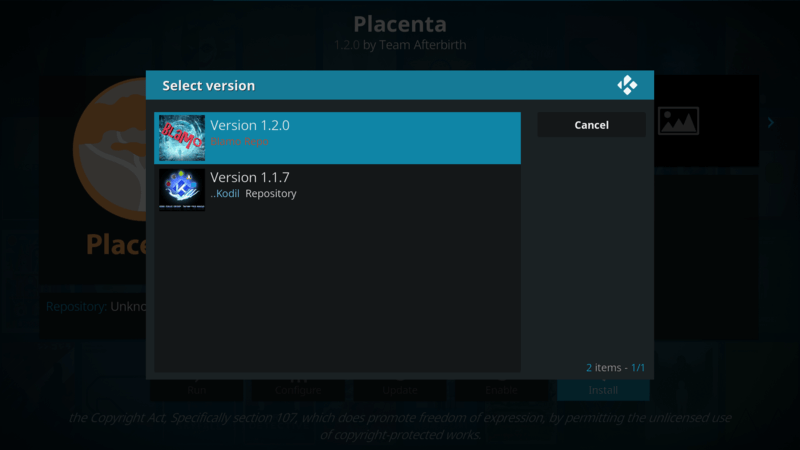
Wait for the Add-on installed notification at the top right of the screen. (You may get more than one, so be patient and wait until all are installed).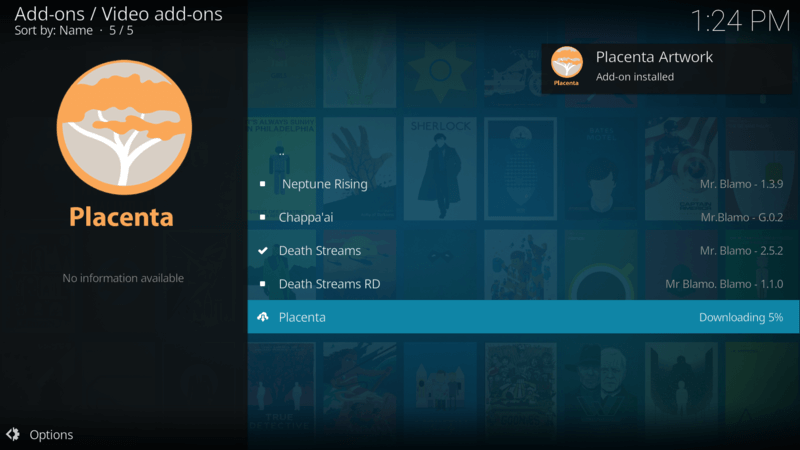
Add f4mtester
While you’re in the Blamo repository, you might want to go ahead and also install the f4mTester add-on. It is required by many add-ons and sooner or later, you will need it.
Using the Placenta Add-on
There you go! You have successfully installed the Placenta Kodi add-on. If you are/were an Exodus fan the then you’ll find yourself at home in Placenta. It has almost exactly the same features, so you ought to be able to find content in the same places that are present in Exodus. There are additional menu items for each section; feel free to try them out at your leisure. As Placenta offers so many new features, I am working on a comprehensive usage guide. Stay tuned to this site, or sign up for my newsletter to receive updates on new and updated add-ons.
This site and the media it produces is in no way associated with the XMBC Foundation or Kodi and the add-on and/or repository referenced in the article not supported by the Kodi Team or the XBMC foundation. Please do not post questions on the forum.kodi.tv website relating to this add-on. This website shares links to unofficial, third-party repositories and add-ons. We do not create, develop, own, or financially support any of the add-ons linked on this website.
Hello. excellent job. I did not expect this. This is a great story.
Thanks!